
Upon returning from a recent trip to New Orleans, the Nebraska fall air felt so crisp and awesome -- it really got me into the mood for autumn decor! My local store had a few items that I snagged right away, but I needed more time to consider what I would do with them. Then, my husband was tossing out some old cans from our storage room, and he came up with this cute planter idea.
To make this particular centerpiece, you'll need:

- One CLEAN empty and dry paint can (or, you can purchase a new can, if you're worried about paint residue.) Make sure it has some drainage holes in the bottom.
- 1 small Mums plant
- 2 fall floral picks
- a plastic insert
- dirt
- scissors

This is easy-peasy, but here are the steps: (NOTE: This project is for decorative flowers only. Do not use old paint cans for edible products, such as herbs and veggies.)
1. Cut the plastic insert down to the point that, once inside the paint can, none of it peeks out the top. I used a planter pot from a blackberry plant that I had purchased last year. It was perfect width, but a little tall, so I cut it down with my scissors.

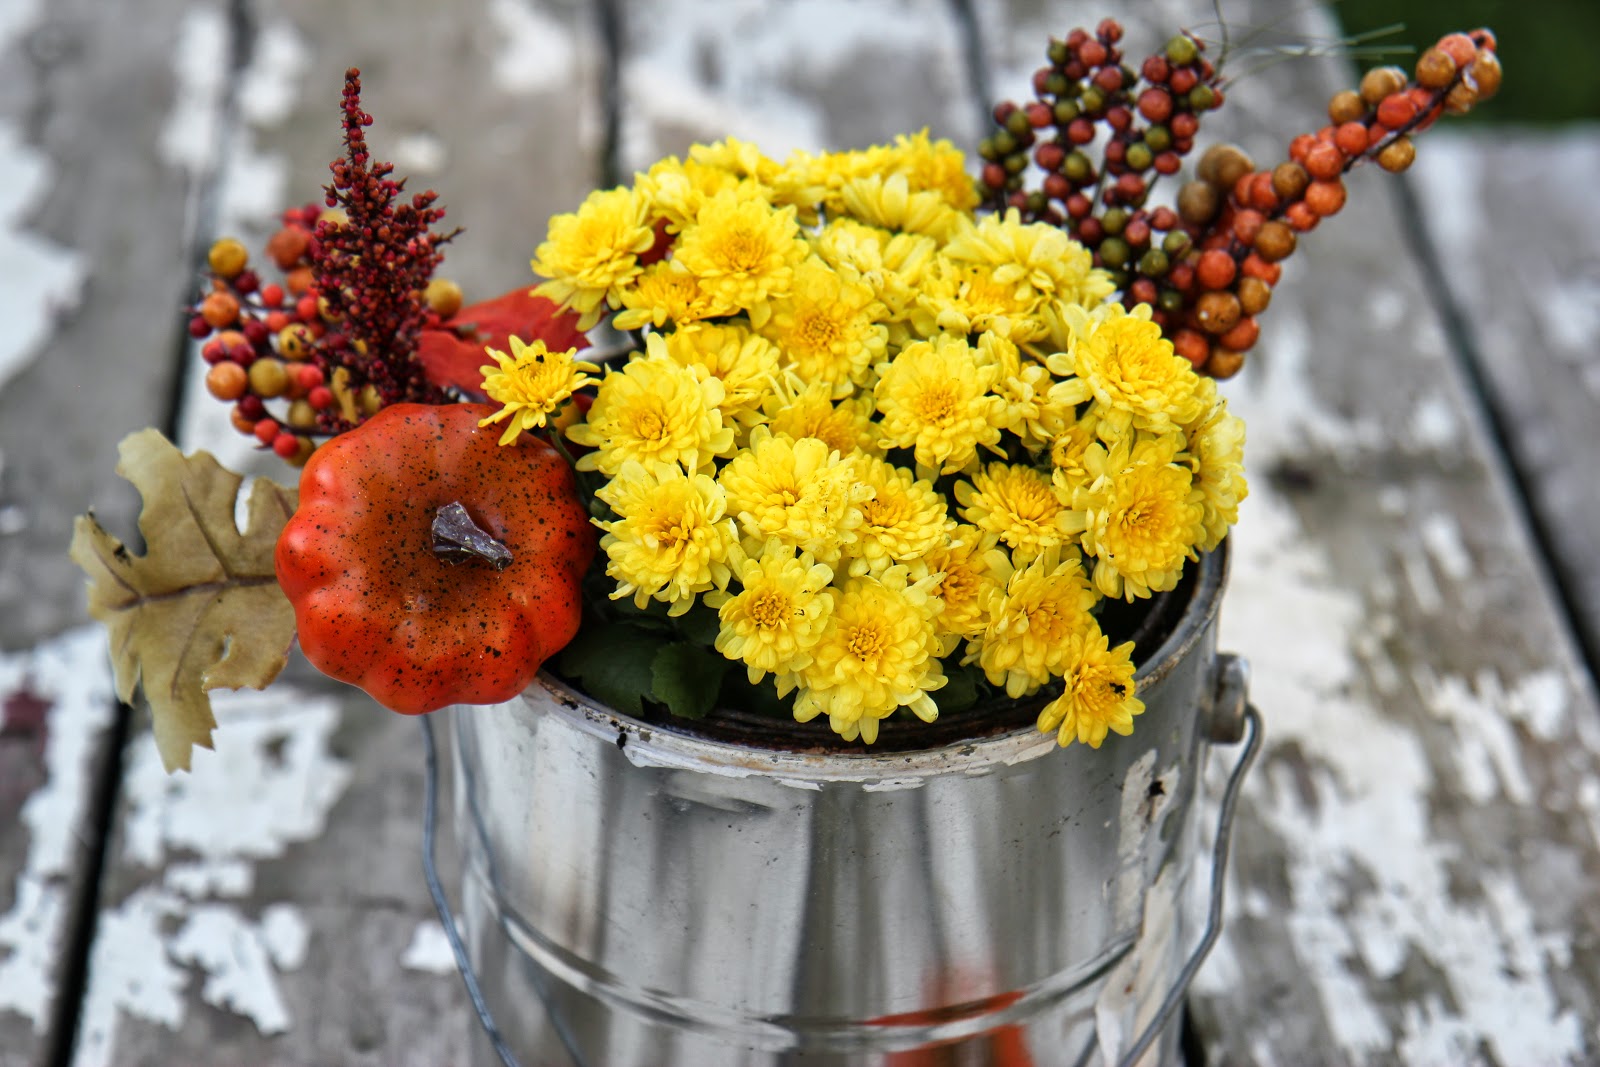
2. Fill the plastic insider with an inch of fresh dirt or potting soil. Then, place the mums, root ball and all, on top. cover the rest of the way with more dirt until it reaches the top of the paint can.

3. Insert the two picks wherever it looks nice.

You're done! Seriously simple, huh?

Since the water will be coming out of the bottom from the drainage holes, this will be an OUTSIDE decoration. It will look very cute for our outdoor fall activities!
Comments
Post a Comment